Once you’ve set up Authentication, you can start adding Events and Actions to your connector. Each Event and Action your connector supports represents a method that a user can use to interact with your API.Events are methods that monitor for a change in a system and are responsible for starting Flows. Actions are methods that will run when the Event it’s attached to is triggered, creating the actual functionality of a Flow.
All Events and Actions are composed of two parts:
* The schema that controls the parts of your connector that users can see and manipulate on your card (params, input, and output)
* The underlying code that actually makes calls to the API and handles the response (modules in the Core section of your connector).
Both the UI and functional parts of Events and Actions are supported by “Functions”, which act as helper methods. For more information, see Helper Functions.
Actions
Actions have 4 sections:
- Params, where you declare any parameters that will appear on the card. Parameters do not accept any data from previous cards
- Input, where you declare any inputs that will appear on the card. Inputs can accept data that is dragged and dropped from an earlier card.
- Output, where you declare any outputs that will appear on the card
- Core, where you declare the steps (called Modules) that will make the call to the API to perform the Action and handle any data that the API returns.
In general, Actions take in data, use it to run a call to the API, then shape the resulting object into the declared output format.
Note: Actions do not return collections, just single objects. If the last module in your Action outputs a collections object (where “_array” = “true”), you will get a typecasting error.
Events
Events come in several different types:
- Polling: These triggers poll against your target service, and compare responses to identify changed states in your target resource. When it can tell there’s been a change, it will trigger the rest of your Flow.
- Webhook: These triggers are initiated by services that support webhook frameworks. The Designer will set up a webhook connection with the service programmatic. After, it will listen to broadcasts from your service, and then trigger the rest of its Flow once the event has been triggered
- Invokable: These triggers are initiated by external services, that simply need an endpoint to trigger, like Salesforce Outbound Messages. Functionally they run similarly to webhooks, but require the webhook to be set up by the owner of an account in your target service.
Polling Events
About Polling Events
Polling Events are one of the two types of Events that your connector can contain. Polling Events are designed to automatically run on a recurring basis based on the user’s plan (typically 1-5 minutes). This means that these Events will need to grab a collection of records, then process collections of records and determine which records have happened since its last iteration.
To be able to keep track of the last record that was collected, Polling Events use a tool called the “since” value. This value allows your API to understand when the last query sent from your Connector was, and can take many forms, although it often is a timestamp sent in your HTTP request. When the user turns on a Flow, the Flow will call the API to get the current since value. Then, at a specified interval, the Event will call the API again and use the since value saved during the previous run to fetch new records. The engine will automatically execute the Flow once for every new record.
The Since Value
The “since” value is a single piece of data that persists between executions of an Event. This means that the data that was set on a previous run of an Event can be compared against a current run’s dataset. Usually the “since” value is a timestamp or the ID of the last record collected of a previous iteration, that you can use to compare against the records collected on this iteration.
For example, if a service returns a list of all records, and each record looks like so:
{ “recordName” : “A”, “createdAt” : “2017-02-15 8:58:00” }
then, so long as I can keep track of the time the last iteration occurred, I can filter out my list of records to only include those whose “createdAt” value is greater than that timestamp. The “since” value would keep track of that timestamp to filter by, and then would be reset to the current time after the list was filtered.
The “since” value can be defined in the Control.Since module, and once defined may be referred to with Mustache as “{{since}}” throughout that Event method.
Building a Polling Event
Polling Events have a fairly well-defined structure, that can be used in most Connectors. Generally speaking, they’ll always include these steps, in approximately this order:
- Get a list of items from an API
- Filter that list based off of the since value that was set on a previous execution. As a side note, sometimes services will allow you to provide a timestamp as a query parameter in the initial request. In those cases, this step is unnecessary, and instead you would pass the since value as that query parameter in the initial API interaction.
- Update your “since” value with the Control.Since module
- (Optional, but often needed) Map over each item in the filtered list to render that item into the right format
- End the method with the new list of formatted and filtered items.
Note: A Polling Event must return a list, even if that list contains just one item in a given iteration
Testing a Polling Event
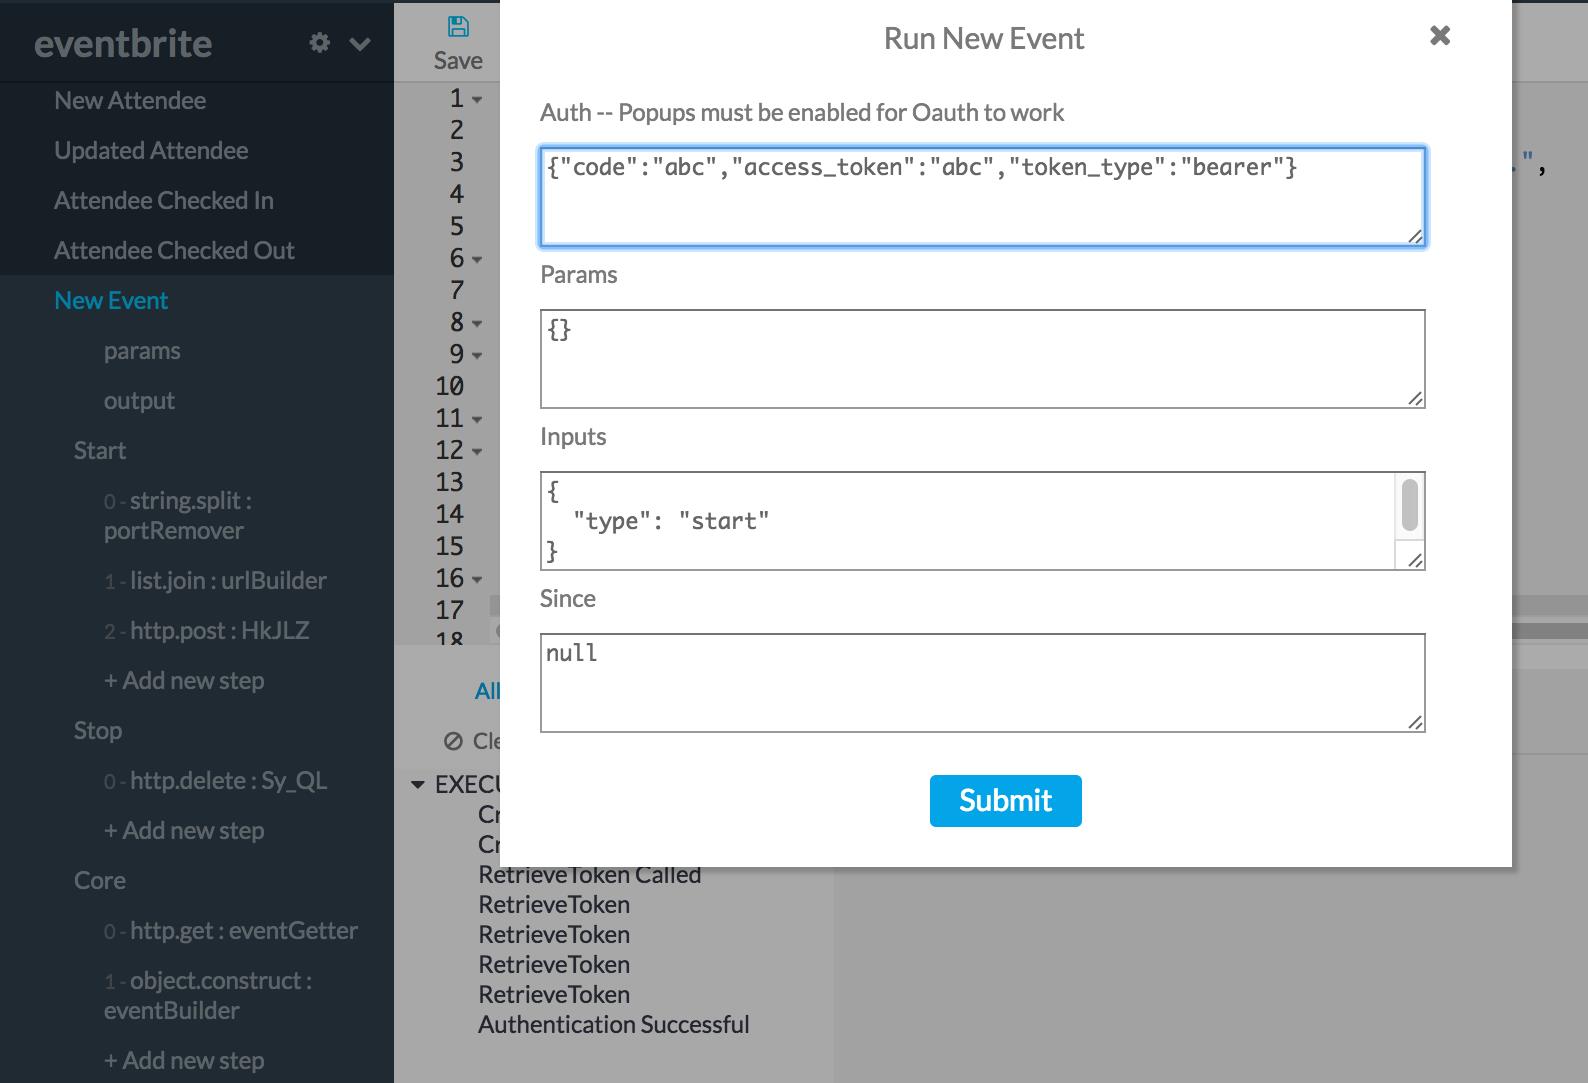
To test a Polling Event in the connector builder, you can artificially set the “since” value in the “Run” window, inside the “Since” textarea. Inside of this area, put in any value that you want to simulate as the since value from the previous iteration of a method execution. You can also leave it as “null” to simulate the first run of your Polling Event.
Webhook Events
General
You can leverage your service’s webhook functionality to build connector events that are triggered by your webhooks. Webhook Events will only run when the corresponding webhook is triggered, as opposed to Polling Events, which will run a check at a given time interval.
When the user turns on a Flow that starts with a Webhook Event, our platform will call an API endpoint to set up a webhook with your service. From then on, whenever the webhook is activated, the event will run and trigger the rest of that user’s Flow. When the Flow is turned off, our platform will then teardown your webhook connection.
To declare an event as a webhook event, click on the ellipses by the event name, select “Configure Method,”

and then select “Webhook” in the Event Type dropdown.

Once you do, you’ll see three sections pop up underneath your Event’s name: “Start”, “Core”, and “Stop”.
“Start” is the operation that will run when the platform’s engines programmatically set up a webhook with your service.
“Core” is the operation that will run whenever the webhook is triggered.
“Stop” is the operation that will run when the platform’s engines programmatically tear down a webhook to your service.
Fundamentally, each of these sections are still just a series of modules, the same as “Core” in a Polling Event or in an Action.
Start
The “Start” section of your Webhook Event is run whenever a user turns on a Flow that uses your Webhook Event as its trigger. The “Start” section is responsible for hitting the API endpoint of your service responsible for creating a new webhook connection.
Often times you’ll need information from inside your service’s response from webhook setup in the rest of your Webhook Event. The platform allows you to access this through {{input.blob.fieldName}}. The input.blob is generated from the final output of your “Start” section.
For example, let’s say your service requires a webhook ID to teardown the webhook connection, and your service returns the webhook ID in the response under the field name id. You would need to make sure your “Start” section outputs that response. Then you can access this value in your “Stop” section by using {{input.blob.id}}. Additionally, you can also access the URL that the webhook will be set up on by using {{input.url}}.
For more information, check out the example at the end of this post.
Core
The “Core” section of a Webhook Event is run whenever your webhook is triggered. This is where the main piece of functionality of your Event will be defined, and is often the most involved aspect of your Event.
The functionality of this section will depend on your service and what the goal of your event is. However, the final output of this section must always be a single object that matches the format of your “output” UI - just like an Action (shown in this example).
To reference data coming in from your webhook when your event is triggered, use {{input.data.fieldName}}.
Stop
The “Stop” section of a webhook is run whenever a user removes your webhook event from a Flow, or turns off/deletes a Flow using your Event.
The “Stop” section is responsible for interacting with the API endpoint for your service that shuts off a webhook connection. To refer to any values that were passed from the service when a webhook connection was created, use {{input.blob.fieldName}}
Handling Lists of Events
Flag: "webhookListReturn": true
Depending on the service’s webhook API, it may be the case that multiple events are sent in one request. In order to process each event in a single request, you must add a flag at the top level of the event definition. It is recommended these keys are added at the bottom of the event - for example, the same place the invokableList, requestedOutputs, etc. flags are usually located. To view the full definition of the event, click on the name of the event in the sidebar on the left. For example, in the image below you would click on “User Added to Application Membership - Webhook”, and you would be presented with this window:
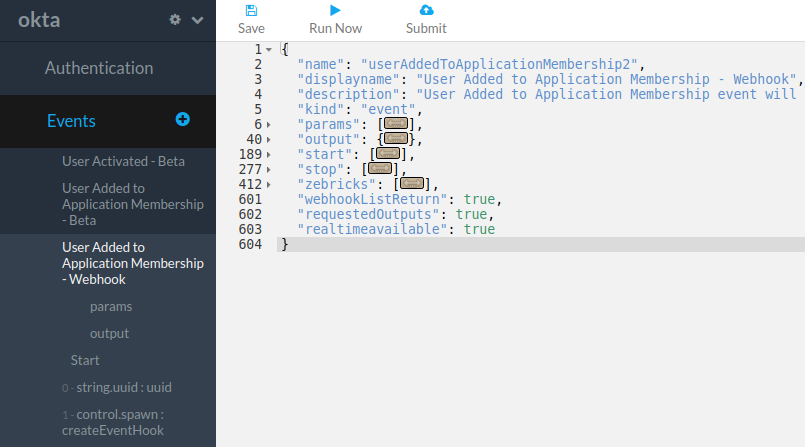
Notice the webhookListReturn flag is added underneath the ‘core’ / ‘zebricks’ section, as a top level key.
An event using this flag must end the ‘Core’ section with a list/array of objects. In most cases, it is recommended to use the list.map module. The Okta webhook events are good examples that leverage the webhookListReturn flag.
Running Webhook Tests
Webhook tests come in two varieties- running each segment on their own, and fully setting up a webhook and “listening” for webhook triggers.
The first type is fundamentally very similar to running an Action. To run this style, select any module within the Start/Stop/Core section you would like to run, and then click “Run”.
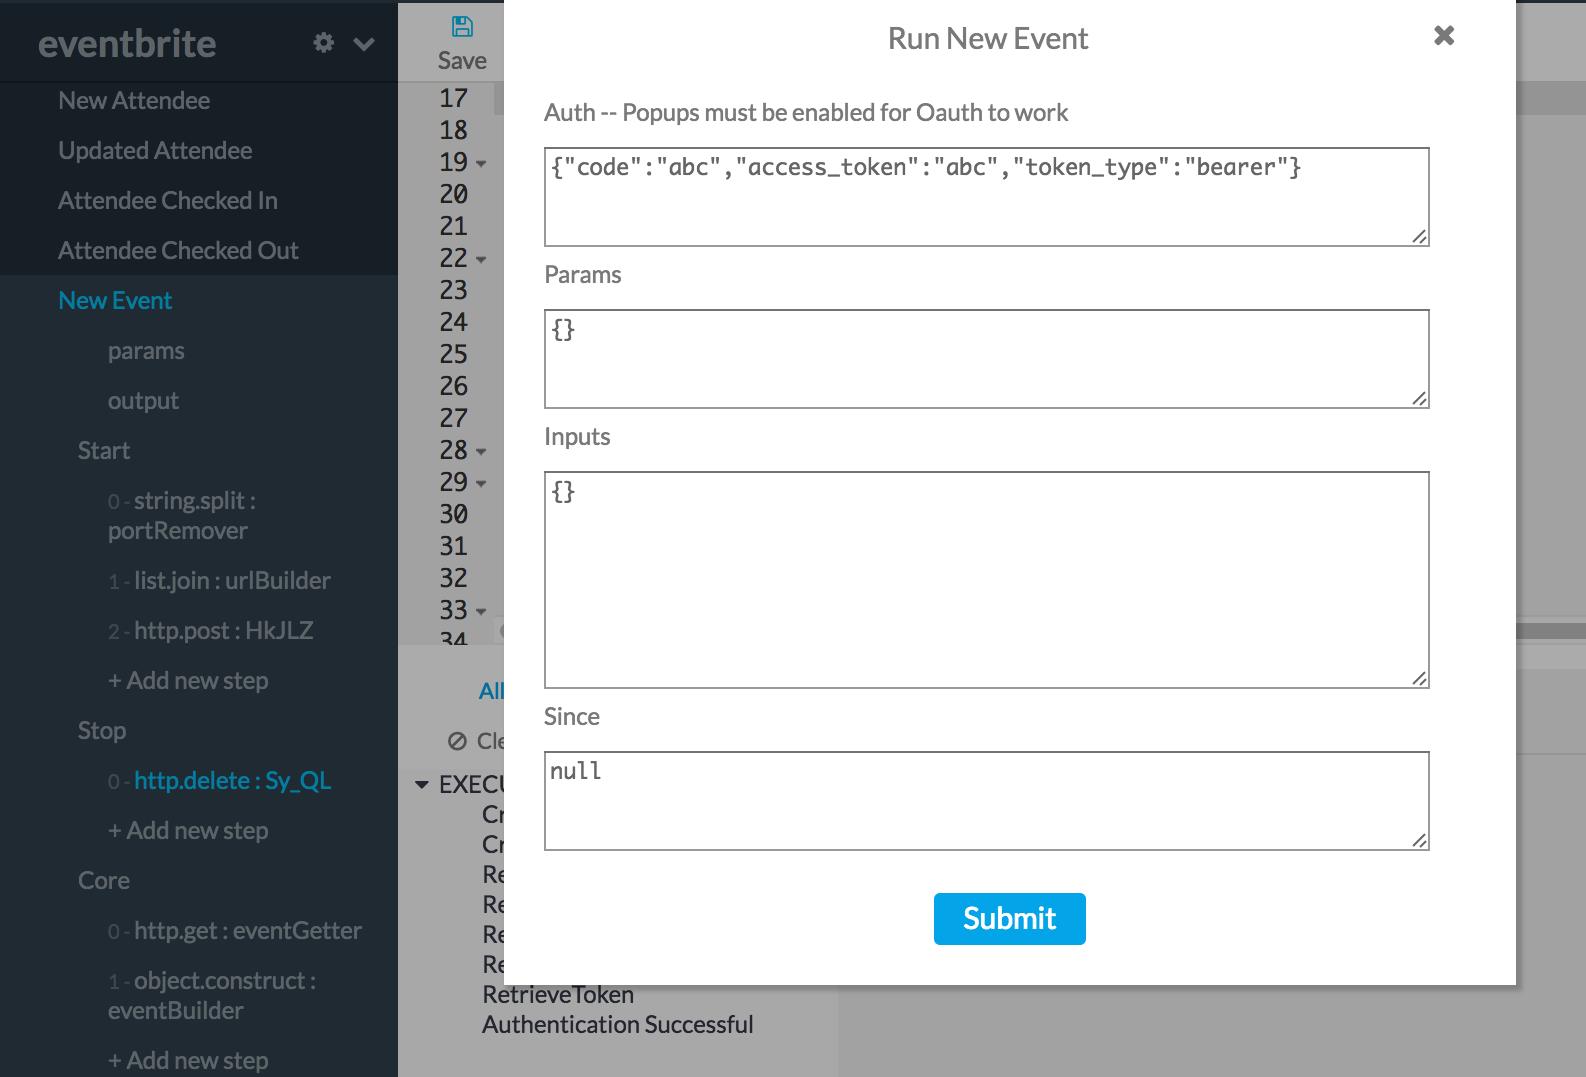
While testing “Core”, put any data you would like to test inside a data object in the “input” section, like so:
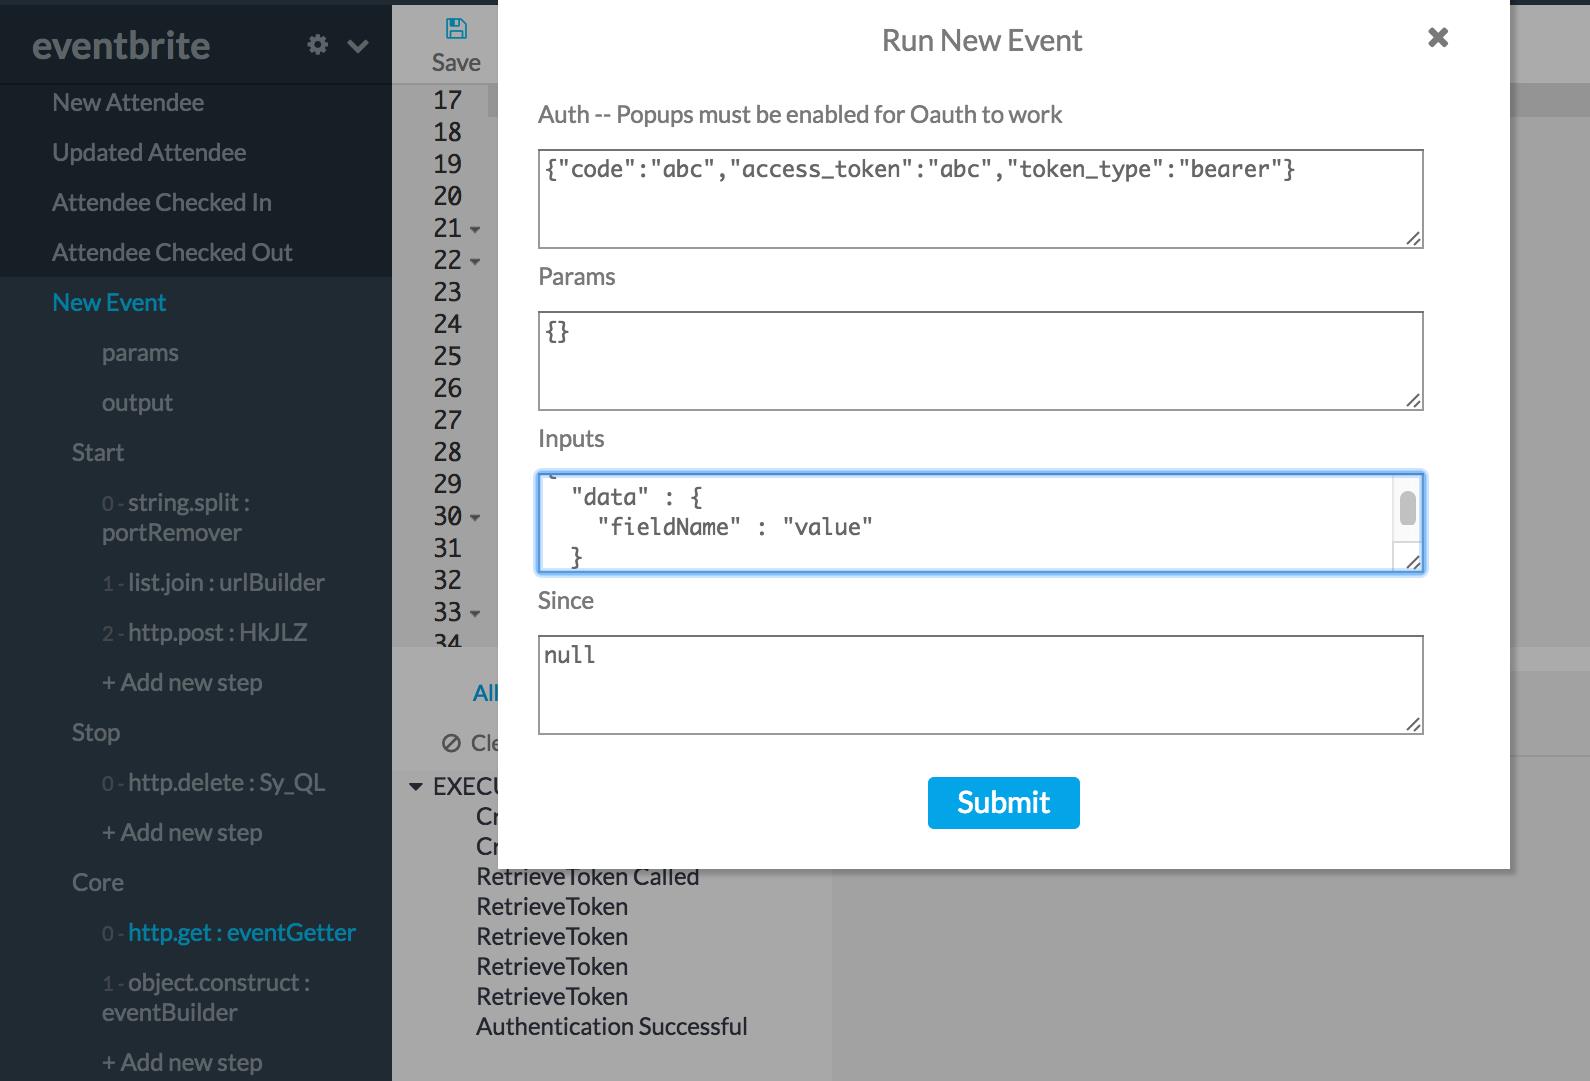
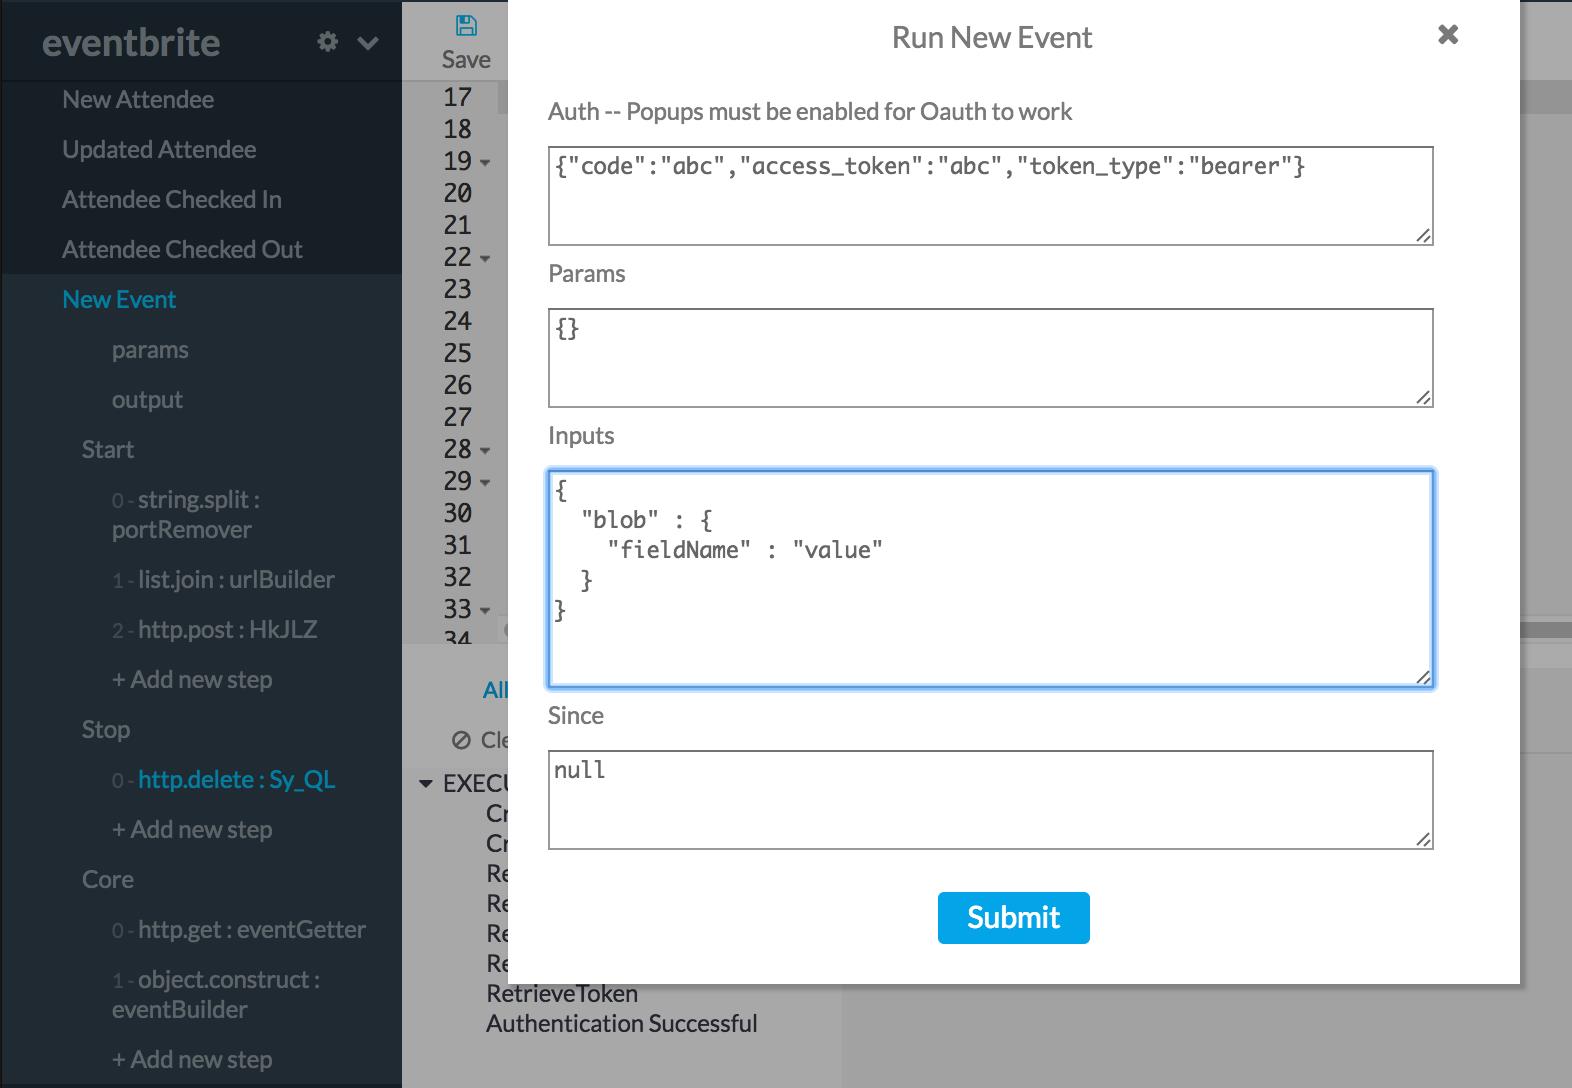
While testing “Stop”, put any information you need inside of a blob object in the “input” section, like so:
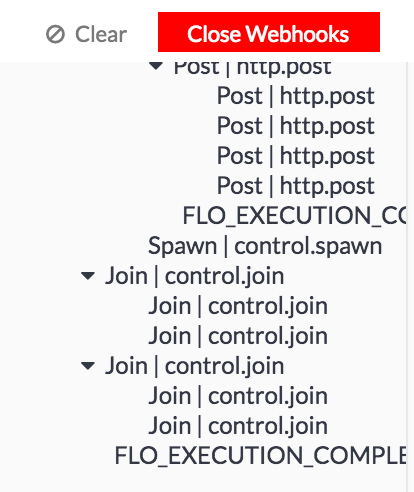
The second type of testing fully sets up a webhook and listens for updates. This type will set up a webhook for you, display logs in the log window for each time your “Core” section runs, and gives you an option to close down your webhooks.
To use this type of test, click on the name of your webhook event, and click run - without changing/passing in any inputs.
Then, inside of your service, perform whatever actions causes your webhook to trigger. You should see logs start coming in, processing the brand new webhook trigger event.
To close your webhook, you can click this button, and see logs for the teardown process.
Example
Here’s an example from the Eventbrite connector.
Start:
{
  "brick": "string.split",
  "id": "portRemover",
  "inputs": {
    "string": {
      "_type": "string",
      "_array": false,
      "_value": "{{input.url}}"
     },
     "delimiter": {
       "_type": "string",
       "_array": false,
       "_value": ":443"
     }
  },
  "outputs": {
    "output": {
      "_type": "string",
      "_array": true
    }
  }
},
{
  "brick": "list.join",
  "id": "urlBuilder",
  "inputs": {
    "list": {
      "_availableTypes": [
        "number",
        "string",
        "boolean",
        "Date"
      ],
      "_type": "string",
      "_array": true,
      "_value": "{{portRemover.output}}"
    },
    "delimiter": {
      "_type": "string",
      "_array": false,
      "_value": ""
    }
  },
  "outputs": {
    "string": {
      "_type": "string",
      "_array": false
    }
  }
},
{
  "brick": "http.post",
  "id": "makeWebhook",
  "inputs": {
    "url": {
      "_availableTypes": [
        "string"
      ],
      "_type": "string",
      "_array": false,
      "_value": "https://www.eventbriteapi.com/v3/webhooks/?token={{auth.access_token}}"
    },
    "body": {
      "_availableTypes": [
        "object",
        "string"
      ],
      "_type": "object",
      "_array": false,
      "_value": {
        "actions": "event.created",
        "endpoint_url": "{{urlBuilder.string}}"
      }
    },
    "headers": {
      "_type": "object",
      "_array": false,
      "_value": {
        "Authorization": "Bearer {{auth.access_token}}",
        "Content-Type": "application/json"
       }
     }
   },
  "outputs": {
    "body": {
      "_type": "object",
      "_array": false
    },
    "statusCode": {
      "_type": "number",
      "_array": false
    }
  }
},
{
  "brick": "control.let",
  "id": "blob",
  "inputs": {
    "id": "{{makeWebhook.body.id}}"
  },
  "outputs": {}
}
Core:
{
  "brick": "http.get",
  "id": "eventGetter",
  "inputs": {
    "url": {
      "_availableTypes": [
        "string"
      ],
      "_type": "string",
      "_array": false,
      "_value": "{{input.data.api_url}}?token={{auth.access_token}}&expand=promotional_code"
    },
    "headers": {
      "_type": "object",
      "_array": false,
      "_value": {
        "Authorization": "Bearer {{auth.access_token}}"
      }
    }
  },
  "outputs": {
    "statusCode": {
      "_type": "number",
      "_array": false
    },
    "body": {
      "_type": "object",
      "_array": false
    }
  }
},
{
  "brick": "object.construct",
  "id": "eventBuilder",
  "inputs": {
    "Event": {
    "Name": "{{eventGetter.body.name.text}}",
    "Description": "{{eventGetter.body.description.text}}",
    "URL": "{{eventGetter.body.url}}",
    "Start Time": "{{eventGetter.body.start.utc}}",
    "End Time": "{{eventGetter.body.end.utc}}",
    "Created At": "{{eventGetter.body.created}}",
    "Changed At": "{{eventGetter.body.changed}}",
    "Capacity": "{{eventGetter.body.capacity}}",
    "Status": "{{eventGetter.body.status}}",
    "Venue ID": "{{eventGetter.body.venue_id}}",
    "Category ID": "{{eventGetter.body.category_id}}",
    "Subcategory ID": "{{eventGetter.body.subcategory_id}}",
    "Online Event?": "{{eventGetter.body.online_event}}",
    "Listed?": "{{eventGetter.body.listed}}",
    "Shareable?": "{{eventGetter.body.shareable}}",
    "Password": "{{eventGetter.body.password}}",
    "Invite Only?": "{{eventGetter.body.invite_only}}"
   }
  },
  "outputs": {
    "output": {
      "_type": "object",
      "_array": false
    }
  }
}
Stop:
{
  "brick": "http.delete",
  "id": "teardown",
  "inputs": {
    "url": {
      "_type": "string",
      "_array": false,
      "_value": "https://www.eventbriteapi.com/v3/webhooks/{{input.blob.id}}/?token={{auth.access_token}}"
     },
     "body": {
       "_availableTypes": [
         "object",
         "string"
       ],
       "_type": "object",
       "_array": false,
       "_value": {}
     },
    "headers": {
      "_type": "object",
      "_array": false,
      "_value": {
        "Authorization": "Bearer {{auth.access_token}}",
        "Content-Type": "application/json"
      }
    }
  },
  "outputs": {
    "statusCode": {
      "_type": "number",
      "_array": false
    },
    "body": {
      "_type": "object",
      "_array": false
    }
  }
}
Invokable Events
General
Invokable events are events that are triggered by an external service. External services will essentially trigger the event inside your connector by invoking the Flow it occupies.
Data from the external service will be passed into your connector event, which you can then use/transform like normal throughout the rest of your event. Most of the time, this will involve simply taking the information passed to you from the service, and formatting the data to match your desired UI structure.
To set up an invokable event from inside your Flow, simply select the invokable event and configure it as you need. Then, select the “</>” icon on the bottom of your event. There, you will see the URL that your external service will need to send data to, to properly trigger your Flow.
From there, whenever your service makes a call to our platform, your Flow will trigger your invokable event and subsequently the rest of that Flow.
Implementation
Note: There are two feature flags (boolean) available to Invokable type events.
* user-invokable
* invokableList
The user-invokable flag enables you to close out a connection in the middle of your connector, using the Close.
The invokableList flag enables the event to process a list of items returned by the API in a single request, and process each individual item in the list as a discrete Flow execution. This is useful when a service’s event API returns multiple events in a single HTTP request. Existing conenctors that leverage this functionality include Salesforce, Aprimo, et. al.
To implement an invokable method, first go to the event that you would like to set to be “invokable”. When you hover over its name, you’ll see an ellipses menu pop up on the right. Click it, and then select “Configure Method”. On this page, you should then select “invokable” under the “Event Type” menu. If you are trying to use user-invokable or invokableList flags, then set your “Event Type” to “Invokable”, and click on the name of your method and scroll to the bottom. After the last ] and before the last }, add in a user-invokable and/or invokableList keys as necessary, and set them to true.
For example:
  ...
  ],
  "invokable": true,
  "user-invokable": true,
  "invokableList": true
}Important: If you’re leveraging the invokableList flag, then it is required that your event returns a list of items (any type), as opposed to returning an object (single item). Commonly this will be list.map or list.filter modules at the end of the event. This is similar to the Polling event model.
Once that is complete, you can get started on actually building your connector method.
Just like any event, you’ll need to build your UI for your params and outputs. After that, all you have to do is set up your modules to consume whatever information is coming from your external service and map it into a format that matches your outputs. Similar to what an Action does.
The information passed from your service is accessible through the Mustache reference {{input.data.valuePathHere}}, or {{input.raw.headers.path}} if you are using user-invokable triggers.
Testing
Building an invokable event is fairly straightforward, however, testing them is far more difficult. Because the invokable event is triggered by an external service via the Flow it’s built on, you cannot trigger an invokable event until it has been built into a Flow.
To get around this, it’s best to understand what the shape of your data coming from your service is, by either looking at the documentation, or by setting up an API endpoint Flow, and seeing what the body of the trigger request is.
Then, inside of your event method, add an Object.Construct that contains the copy-and-pasted object from your trigger request, that you can then use throughout the rest of your event method to test how to properly shape your incoming data. Once you’ve been able to process your data correctly, you’ll need to remove the Object.Construct, and replace those references with {{input.data}}.
Then, to truly test, you’ll need to deploy your connector and build a Flow with it. At this point, you can then grab the invoke URL from the newly-made Flow and test to see if your data mapping was correct.