The heart of all Flows is the connector, but how exactly does a connector get data from your instance to your Flow? Through an authorized connection! In this module you will learn how to set up a connection and use it in a Flow.
Course Material
The heart of all Flows is the connector, but how exactly does a connector get data from your instance to your Flow? Through an authorized connection! In this module you will learn how to set up a connection and use it in a Flow.
The Connector
The heart of all Flows is the connector, but how exactly does a connector get data from your instance to your Flow? Through an authorized connection!
Creating Connections
There are several ways to create a connection, each of which is straightforward and the path we take depends on the kind of connector you are using.
Key Points about Connectors:
- Connectors are based on authorization type
- Type depends upon requiprements of the API of the target application
- Different authentication types often have different levels of complexity
- Depending on type may require less or more information to activate
- For some connections you may have to do some work outside of the product to find the information you need to get authenticated
Connection Overview
You can create a connection to your application one of two ways:
- Through the Settings tab
- On a card
Either path will lead you to the same window, so the process once you get the authorization window open is the same.
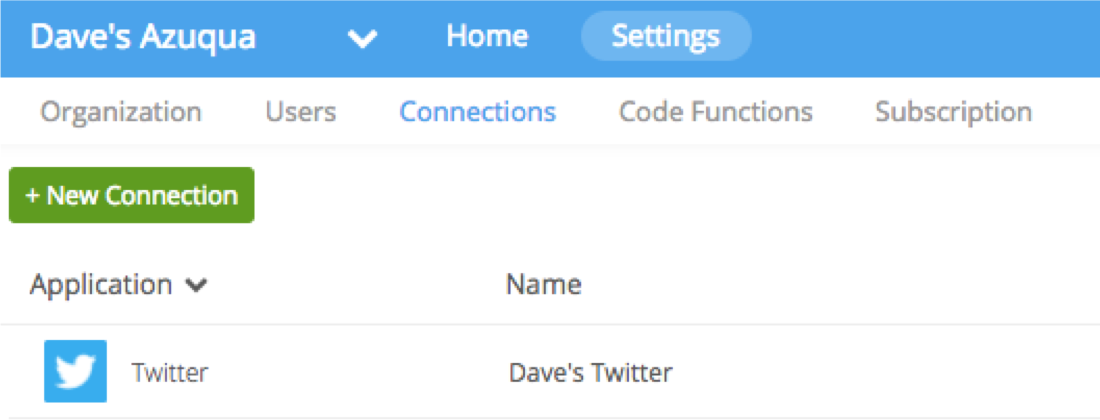
To authorize through the Settings Tab in designer, click on Settings, then Connections, then click the green +New Connection button.
This will open a popup window with the available apps you have not yet authorized, select one and it will bring you to the window that displays the required inputs for that application.
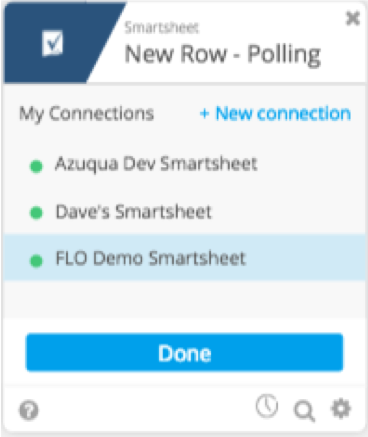
To create a new connection in a Flow, add a card from an app that you have not connected yet the card will prompt you to create a new connection.
Configuring a Connection
When you configure a new Connection (again, a Connection is an authenticated instance of a Connector), you’ll have two steps:
Set a Nickname for the Connection
First, you’ll set a Nickname for your connection.
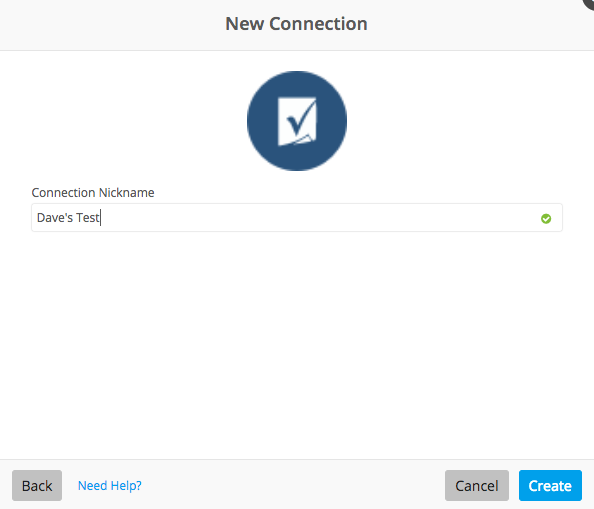
Nicknames are especially useful when you have multiple users within the ORG that may have different credentials for each connection and even different permission associated with each one!
Easy-to-understand nicknames for each connection provides transparency into which connections can perform certain actions.
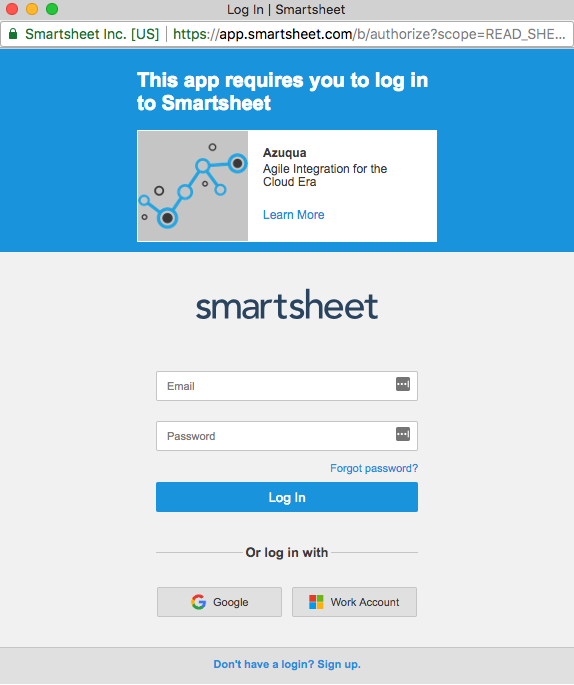
Authenticate the Connection
With the nickname in-place, you will be prompted to authenticate the connection.
Authentication may take multiple forms including OAuth, or even simple Username/Password.
Basic authentication is nice because it only requires these two fields, so once you have given your connection a nickname and provided the aforementioned information, you are ready to start integrating!
Handling Subdomains
Some connections will require additional information. Once such field is the Subdomain.
With some applications (Zendesk is a good example) you may have your own instance registered under a domain name specific to yourself. An example is: https://subdomain.zendesk.com.
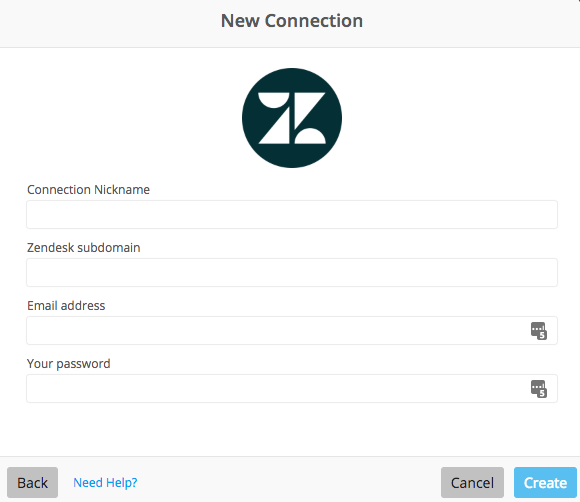
For such connections you’ll need to have this information on-hand upon configuration.
Working with Tokens
Some connector authentications require some extra outside work to configure.
A number of applications (Widen is a good example) require you to only provide a token and a domain. So far we can handle domains, but where do we get this token?
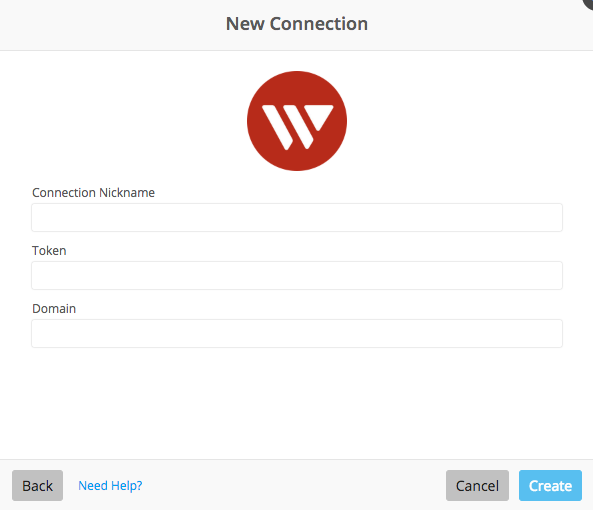
A token is a unique string that your application (in this case, Widen) generates for you that you will need to pull from within your specific instance of Widen.
Tokens are often found inside the settings section of your application and may or may not require further work for you to retrieve from the service.
If you have problems with authorizations like this, you can always reach out to support@azuqua.com for further assistance.